Facebook Advertising, BLOG, Marketing & SEO
5 Essential Steps to Launch Facebook Advertising Campaign with Mailchimp Today
Nov
Ready to promote your products on Facebook? Before spending money on ads, make sure your accounts, customer data, and audience are ready. A few setup mistakes can send your ads to the wrong people and waste your budget.
This guide shows you how to launch Facebook advertising campaign in Mailchimp for small business with five practical checks. You’ll learn how to connect Mailchimp to Meta, select the right customer audience, prepare your advertising budget, and launch your first campaign. Follow each step to get your Facebook Advertising campaign ready and avoid unnecessary setup problems.
What Do You Need to Prepare Before Launching a Facebook Advertising Campaign in Mailchimp?
Before launching, prepare your connected accounts, campaign goal, target audience, and Mailchimp plan. These requirements help you complete the setup without unnecessary delays.
Connect Your Mailchimp and Meta Accounts
Start by connecting Mailchimp to Meta through the Meta Business Extension. Before opening the connection settings, prepare these items:
- An active Meta Business Manager account
- A Meta ad account
- A customer list for creating a Custom Audience
- A Facebook Page and an Instagram profile
- A Meta Pixel for tracking website activity
During setup, select the Facebook Page, Instagram profile, and Pixel you want to use. Review the requested permissions and complete the connection.
Keep in mind that one Mailchimp account connects to one Meta business account. Meta may also consider the age of your Business Manager account. Setting up your business account early can help you avoid delays.
If you haven’t connected the platforms yet, follow a step-by-step guide on how to connect Mailchimp to Meta before moving to the next check.
Choose Your Campaign Goal and Target Audience
Decide what you want your Facebook ad to achieve before selecting an audience. For example, you may want to attract first-time buyers, encourage repeat purchases, or reconnect with inactive customers.
If your online store is connected to Mailchimp, you can use six ready-made customer groups:
- First-time Customers: Encourage a second purchase.
- Repeat Customers: Promote new products or reward loyal buyers.
- Lapsed Customers: Bring inactive customers back to your store.
- High-value Customers: Offer exclusive deals or early access.
- Recent Customers: Recommend related products.
- Potential Customers: Encourage interested shoppers to make their first purchase.
Choose one audience that matches your campaign goal. For example, select Lapsed Customers for a win-back campaign or First-time Customers to encourage repeat purchases.
These groups rely on ecommerce customer data, so connect your online store before using them. A relevant audience helps you focus your advertising budget on people who are more likely to respond.
Select the Right Mailchimp Marketing Plan
Check your Mailchimp plan before setting up your campaign. All Mailchimp Marketing plans support installing the Meta Business Extension, but some advertising-related features require a higher plan.
- Essentials: Supports basic marketing automation, with flows limited to four steps.
- Standard: Supports up to 200 steps in flows and adds the Meta Custom Audience action and Conversion Insights for connected stores.
- Higher-tier plans: May offer additional features depending on your account and current subscription.
If your goal is simply to connect Meta and create an ad, start by checking the features available in your current plan. Upgrade only when you need tools that are not included.
Visit Mailchimp’s pricing page to compare current plans and confirm which features are available before making a purchase decision.
The Way How to Launch a Facebook Advertising Campaign in Mailchimp
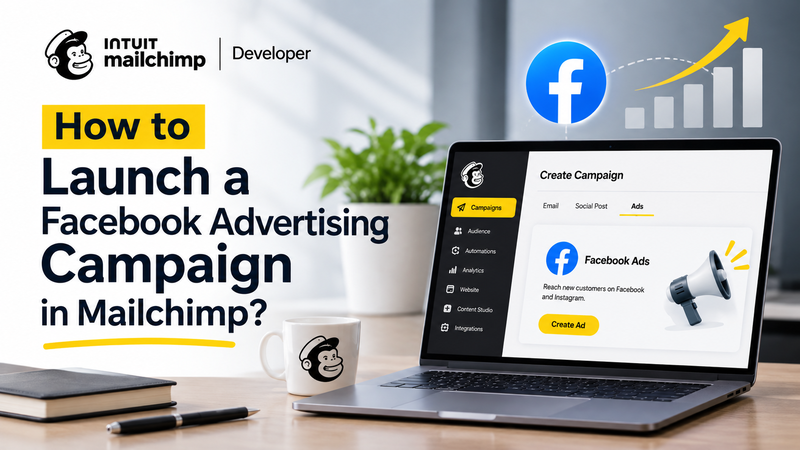
Once your accounts and audience are ready, move on to campaign setup. Sync your customer list, create your ad in Meta, and choose a budget that fits your marketing goal.
Sync Your Customer Audience and Create an Ad
After connecting the Meta Business Extension, sync your Mailchimp customer list with Meta to create a Custom Audience.
Follow these steps:
- Open the Meta Business Extension in Mailchimp.
- Select the customer list you want to sync.
- Follow the instructions to create or connect your Custom Audience.
- Wait for the audience sync to complete.
- Select the synced audience when setting up your Facebook ad in Meta.
If you’re using the Standard plan or higher, you can also add contacts to a Meta Custom Audience through an automation flow.
After completing the connection, Mailchimp may display two options:
- Create Ad: Open Meta’s advertising tools to start building a new ad.
- Done: Finish the connection and create your ad later.
Choose Create Ad if you’re ready to continue. Otherwise, select Done and return when your campaign materials are prepared.
Set Your Advertising Budget and Build Your Ad
Meta manages your Facebook and Instagram ads, so you’ll configure the campaign budget, schedule, placements, and other advertising settings in Meta’s tools.
For your first campaign, keep the setup simple:
- Select your synced Custom Audience.
- Upload one relevant product image or creative.
- Write a short advertising message that highlights one clear benefit.
- Add a call-to-action button that matches your goal.
- Set a small daily budget and choose your campaign schedule.
- Review the settings before publishing.
For example, if you’re targeting Lapsed Customers, promote a product they may be interested in and use a clear message to encourage them to return.
Avoid testing too many audiences or creative variations at once. Start with one audience and one clear message so you can understand the results before increasing your spending.
Before clicking Publish, complete this final checklist:
- Connection: Confirm that the correct Meta business account, Facebook Page, ad account, and Pixel are selected.
- Consent: Make sure your customer data is collected and used in accordance with applicable marketing consent requirements.
- Data: Check your customer list for outdated or incorrect information.
- Audience: Confirm that your selected audience matches your campaign goal.
- Ad and budget: Review your image, message, CTA button, daily budget, and schedule.
Once all five checks are complete, review your campaign one more time and publish it through Meta’s advertising tools.
What Should You Do After Launching Your Facebook Advertising Campaign?
Publishing your ad is only the beginning. Monitor campaign performance, review customer activity, and adjust your settings based on the results.
Monitor Your Advertising Performance
After your campaign starts running, open Meta Ads Manager to review its performance. Focus on these four ad metrics:
- Reach: The number of people who saw your ad.
- Click-through rate (CTR): The percentage of impressions that resulted in clicks.
- Cost per click (CPC): How much you pay for each click.
- Conversion rate: The percentage of visitors who complete your desired action.
These metrics help you understand whether your audience is responding to your campaign and whether your advertising budget is being used effectively.
You can also check ecommerce performance in Mailchimp. Go to Analytics → Reports → View Report, then open the E-commerce tab to review store-related results.
With a connected store and the Standard plan or higher, Conversion Insights provides additional information, including revenue per recipient and predictive segments.
Optimize or Pause Your Facebook Ads
Use your campaign results to decide what to do next:
- Keep running: Continue with ads that meet your campaign goal.
- Adjust: Change one element at a time, such as the image, message, or target audience.
- Pause: Stop ads that consistently perform poorly after an appropriate testing period.
For example, if a win-back ad targets Lapsed Customers, measure its success through returning customers and repeat purchases, not just clicks.
You can pause your ads through Meta’s advertising tools. If you also want to stop new contacts from entering a synced audience, update the relevant Mailchimp segment or automation flow.
Make small adjustments, monitor the results, and use what you learn to improve your next Facebook Advertising campaign.
Conclusion
You’re now ready to prepare and launch your campaign. Connect your Mailchimp and Meta accounts, choose the right customer audience, check your plan, sync your contacts, and configure your ad budget before publishing.
Follow these five steps to launch Facebook advertising campaign in Mailchimp for small business with a clear goal and better control over your advertising spend. Remember that Mailchimp helps organize your customer data, while Meta manages your ads and campaign budget.
Start with one audience, one simple ad, and a manageable budget. Review the results before scaling your campaign.
FAQ
1.Can I launch a Facebook advertising campaign in Mailchimp on any plan?
All Mailchimp Marketing plans support installing the Meta Business Extension. However, some features, such as the Meta Custom Audience action in automation flows and Conversion Insights, require the Standard plan or higher.
2.What do I need before launching a Facebook ad through Mailchimp?
You need an active Meta Business Manager account, a Meta ad account, and a customer list for your Custom Audience. You should also prepare a Facebook Page, an Instagram profile, and a Meta Pixel for the connection.
3.Where do I set my Facebook advertising budget?
Set your campaign budget and schedule in Meta’s advertising tools, such as Meta Ads Manager. Mailchimp helps organize your customer data and sync audiences, while Meta manages your advertising campaigns.
4.Can I pause a Facebook advertising campaign after launching it?
Yes. Open Meta Ads Manager, find your campaign or ad, and switch off its delivery status to pause it. You can also update your Mailchimp segment or automation flow if you want to stop adding new contacts to a synced audience.
