
Facebook Advertising, BLOG, Marketing & SEO
Mailchimp Facebook Integration: 5 Places to Find It
Nov
Looking for the Mailchimp Facebook integration but aren’t sure where to find it? You can access it through Mailchimp’s Integrations section and manage your connected Facebook account from there. This guide shows you five key places to find Facebook-related settings and tools in Mailchimp for small business.
You’ll also learn what each section does, so you can quickly access your contacts, social posts, and advertising connections without wasting time searching through menus.
Where Is the Mailchimp Facebook Integration?
The Mailchimp Facebook integration is located under Integrations → Manage → Facebook in your Mailchimp account.
For advertising settings, open the Meta Business Extension instead. Knowing where to find each page helps you access the right tools quickly.
Find It on the Integrations Page
To find the Mailchimp Facebook integration, go to the main menu and select Integrations. Click Manage to open the list of available and connected apps. Locate the Facebook tile and click it to access the integration details and settings.
If you haven’t connected Facebook yet, click Connect on the integration detail page. Mailchimp will then direct you to log in to Facebook and authorize the connection.
Note: Your Facebook account must have admin access to at least one Facebook Page to connect it through Mailchimp.
Facebook Integration vs Meta Business Extension
To find the right page in Mailchimp, first identify what you want to access. For publishing organic posts on your Facebook Page, go to the Facebook integration. To manage connections for paid ads, navigate to the Meta Business Extension instead.
Although both tools are part of Mailchimp’s integration options, they have separate locations and functions. Knowing which page to open makes it easier to find the Mailchimp Facebook integration and access the settings you need.
How Do You Open and Check the Mailchimp Facebook Integration?
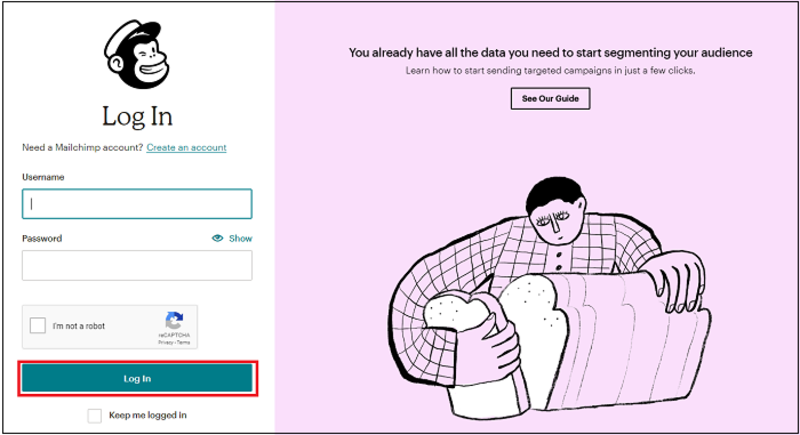
Open Integrations, then Manage, then the Facebook tile. Check three things there: your Page, your account, and your permissions. These checks keep the Mailchimp Facebook integration healthy.
Open the Facebook Tile and Click Manage
Follow this short path:
- Click Integrations in Mailchimp.
- Click Manage.
- Click the Facebook tile.
The tile opens your integration settings. Mailchimp lists no separate verification step. Instead, you see a success message after you connect: “Nice work! You’ve successfully connected your Mailchimp account with Facebook.” If you see that line, the Mailchimp Facebook integration is live.
Check Your Page, Account, and Permissions
Three items matter here. They are meronyms of the whole setup, the holonym:
- Your Facebook account, which must be an admin of the Page
- Your Facebook Page
- Your permissions
Mailchimp recommends one Facebook account for one Mailchimp account. You approve each permission request when you connect. To change a permission later, disconnect and reconnect. That small habit keeps the Mailchimp Facebook integration clean.
Where Instagram and Lead Ads Fit
Instagram needs a business account added to your Facebook Page. Once it is added, your Instagram photos appear in the content studio. You can then post to your Instagram feed.
The Mailchimp Facebook integration has two limits. It does not post to your personal Facebook profile. It also does not include lead ads. Mailchimp has a separate help page for Meta lead ads, so check that page if you need them.
Where Do You Go After You Connect?
After you connect, three places matter: the content studio for posts, the Meta Business Extension page for ads, and the Facebook tile for fixes. Each one extends the Mailchimp Facebook integration.
Post and Schedule Social Content
Use the content studio to build and share posts. Posts go to your Facebook Page, and to your Instagram feed if a business account is linked. They do not go to a personal profile.
Scheduling depends on your plan. Users on the Standard plan or higher can schedule a social post. Lower plans cannot. Check your plan before you plan a posting calendar. The Mailchimp Facebook integration is easy to use once you know that limit.
Plan before you post. Pick one goal first: news, an offer, or a story. Write one short message. Add one photo. If Instagram is linked, your Instagram photos show up in the content studio, so reuse them. Reuse saves time. A steady habit makes the Mailchimp Facebook integration work best.
Open the Meta Business Extension App Page for Ads
Ads live on a different page. Open the Meta Business Extension app page in Mailchimp. Ads are paid, so Meta runs and reports on them, and Mailchimp’s help pages do not describe those screens. For the full setup, read my step-by-step guide on connecting Mailchimp to Meta.
Disconnect or Fix a Problem
To disconnect and reconnect the Mailchimp Facebook integration, follow these steps:
Step 1: Disconnect from Mailchimp
- Go to Integrations → Manage.
- Select the Facebook tile.
- Click Disconnect.
Step 2: Remove Mailchimp from Facebook
- Open Facebook Settings & privacy → Settings.
- Select Business Integrations.
- Under Active, find Mailchimp and click Remove.
- Confirm your choice.
Step 3: Reconnect Facebook
- Return to Mailchimp Integrations → Manage → Facebook.
- Click Connect.
- Log in to Facebook and approve the requested permissions.
You can now return to the Facebook integration settings in Mailchimp to check the connection.
Conclusion
Now you know where to find the Mailchimp Facebook integration and which tools to use. Start with Integrations, click Manage, and open the Facebook tile to manage your connection. Use the Content Studio for social posts, visit the Meta Business Extension for advertising, and choose Disconnect if you need to reset the connection.
Bookmark this guide so you can quickly return to the right settings whenever needed. With these five key locations, finding and managing the Mailchimp Facebook integration for your small business becomes much easier. Happy posting!
FAQ
1.Where do I find the Mailchimp Facebook integration?
Click Integrations in Mailchimp, then Manage, then the Facebook tile. That opens your integration settings. If you have not connected yet, open the Facebook integration detail page and click Connect.
2.Can I connect Mailchimp to my personal Facebook profile?
No. The integration does not post to a personal profile. You need an active Facebook account that is an admin of at least one Facebook Page. Mailchimp recommends one Facebook account for one Mailchimp account.
3.Does the Facebook integration include lead ads?
No. The connection does not include lead ads. Mailchimp has a separate help page for Meta lead ads. Ads and audience syncing sit on the Meta Business Extension page.
4.Do I need a paid plan to schedule Facebook posts from Mailchimp?
Scheduling needs the Standard plan or higher. Lower plans cannot schedule a social post. Check your plan before you build a posting calendar around the Mailchimp Facebook integration.
