
Email Marketing, BLOG, Marketing & SEO
The Way How to Use Mailchimp Customer Journey Builder for Small Business 2026
Nov
The first time I opened Mailchimp’s automation map, I stared at the blank canvas for a long time. Boxes, arrows, and options sat everywhere. I closed the tab and sent another manual email instead.
That was a mistake. A single customer journey can send the right email at the right time while I work on other tasks. This guide shows how to use Mailchimp Customer Journey Builder for small business owners, in five steps. Mailchimp now calls the tool Marketing Automation Flows, so you may see both names. You need no code and no big team.
What Is Mailchimp Customer Journey Builder and Why Use It?
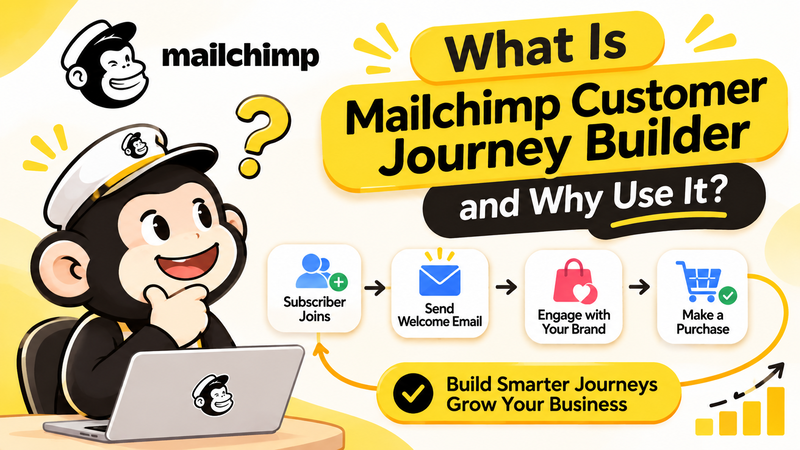
Mailchimp Customer Journey Builder is a visual map that sends automated emails based on what a contact does. It replaces manual campaigns for repeat tasks, like a welcome message. Here is how to use Mailchimp Customer Journey Builder for small business goals, starting with the basics of marketing automation.
What Is a Customer Journey in Mailchimp?
A customer journey is a path of triggers, rules, and actions that moves a contact through your marketing. Mailchimp’s guide lists five parts:
- Starting point (trigger): the event that adds a contact, such as signing up or joining a group.
- Steps: the rules and actions that follow the trigger.
- Rules: conditions and delays, such as a time delay or a conditional split.
- Actions: tasks such as sending an email, adding a tag, or updating a contact.
- Exit conditions: events that remove a contact from the flow.
Each part has one job. The trigger starts the journey. The rules shape the path. The actions do the work.
Customer Journey Builder vs Classic Automations
Classic automations are simpler and more linear. A flow can branch into several paths.Mailchimp has been replacing classic automations with flows, and it lets you change a classic automation into a flow. A visual map also makes mistakes easy to see. Build new work in flows.
What a Small Business Needs Before Starting
Prepare four things:
- An audience of contacts who agreed to hear from you
- A connected store, if you sell online, so order data can trigger emails
- A plan that fits your goal
- One clear goal, such as welcoming new subscribers
Write the goal in one sentence. A clear goal keeps the flow short. Plan limits matter. According to Mailchimp’s guide, the Essentials plan allows up to 4 steps per flow. The Standard plan or higher allows up to 200 steps, up to 3 triggers, and splits. Check the pricing page for current limits. With these ready, you know how to use Mailchimp Customer Journey Builder for small business goals without wasted effort.
How Do You Use Mailchimp Customer Journey Builder Step by Step?
Five steps cover the whole process: create the flow, add steps, add rules, launch, and improve. The first three happen on the map. Follow them in order to see how to use Mailchimp Customer Journey Builder for small business use without errors. The example is a simple welcome flow.
Create a Flow and Choose a Starting Point
Go to Automations, create a flow, and choose a starting point. The starting point is the trigger that adds contacts to the flow. Examples are signing up and joining a group.
Add a filter to narrow who enters. Each trigger supports up to 5 filters. You can also start from a flow template and edit it. Pick a trigger that matches your goal. A welcome flow needs a sign-up trigger. A post-purchase flow needs an order trigger from your connected store. For the welcome flow, choose “signs up” as the trigger.
Add Steps, Delays, and Actions
Drag items from the side panel onto the map, or select the plus icon. Each step is a rule or an action. Available actions include sending an email, adding a tag, updating a contact, and sending a webhook.
A simple welcome flow has three steps:
- Send the welcome email.
- Add a time delay of 2 days.
- Send a second email with your best-selling products.
Remember the Essentials limit of 4 steps. This flow fits inside it. Keep the first version short, and write each email around one idea. Short flows are easy to test. Short, simple steps are how to use Mailchimp Customer Journey Builder for small business without stress.
Use Rules and Splits to Personalize Paths
Rules decide who goes where. Mailchimp’s guide lists four:
- Time delay: holds contacts for a set period.
- Wait for Trigger: holds contacts until they meet a condition.
- Conditional split: sends contacts down one of two paths, based on up to 5 conditions.
- Percentage split: divides contacts between two paths.
Try a conditional split after the first email. Contacts who opened it get an offer. Contacts who did not open it get the same email with a new subject line. Splits need the Standard plan or higher. Rules turn a simple chain into a personal path. That is how to use Mailchimp Customer Journey Builder for small business customers with different needs.
How Do You Launch and Improve Your Customer Journey?
Launching is quick, but improving takes time. Activate the flow, test it, then read results and adjust. These habits show how to use Mailchimp Customer Journey Builder for small business over the long term, not only on day one.
Activate and Test Your Flow
Review every step on the map, then activate the flow. Test each email and run a test contact through the path first. Check three things: the trigger, the delay times, and the links in each email. According to Mailchimp’s guide, pause an active flow before you edit it.
Track Results and Improve
Check your reports every month. Four numbers matter most:
- Open rate
- Click-through rate
- Conversion rate
- Unsubscribe rate
Compare your numbers month to month, not day to day, because early numbers can swing. Change one thing at a time, such as the subject line, the delay length, or the offer. Add exit conditions too. A contact who buys should leave the flow and stop getting offers. Steady tracking is part of how to use Mailchimp Customer Journey Builder for small business success.
Which Journeys Work Best for Small Businesses?
Four journeys work well. New subscribers are the most ready to hear from you, so start with the welcome flow. Pick one or two:
- Welcome flow: the first email right after signup, the second 2 days later.
- Abandoned cart flow: a reminder about items left behind.
- Post-purchase flow: a thank-you within 24 hours, which Mailchimp suggests.
- Win-back flow: an email after 60 to 90 days without an order. Match it to how often your customers buy.
Each journey uses the same parts, so your skills carry over. Start with one flow, then add more. That is how to use Mailchimp Customer Journey Builder for small business growth.
Conclusion
You now know how to use Mailchimp Customer Journey Builder in Mailchimp for Small Business Marketing. Start with one trigger, add a few steps and rules, then review your results each month. Remember the key elements: starting points, steps, rules, actions, and exit conditions.
If you are unsure where to begin, create a simple welcome flow this week. Even a few automated steps can save time, improve customer engagement, and build stronger relationships. Start small, learn from your results, and improve your customer journeys over time.
FAQ
1. Is Mailchimp Customer Journey Builder Free for Small Businesses?
It depends on your plan. According to Mailchimp’s guide, Essentials allows up to 4 steps per flow. Standard or higher unlocks splits, webhooks, and up to 200 steps. Check the pricing page for the free plan.
2. What Is the Difference Between Classic Automations and Customer Journeys in Mailchimp?
Classic automations are simpler and more linear. Customer journeys, now called Marketing Automation Flows, can branch into several paths. Mailchimp lets you change a classic automation into a flow.
3. How Many Steps Can I Add to a Customer Journey in Mailchimp?
Essentials allows up to 4 steps. Standard or higher allows up to 200 steps, up to 3 triggers, and up to 10 wait rules per flow.
