Facebook Advertising, BLOG, Marketing & SEO
Connect Mailchimp to Facebook for Small Business: 7 Steps
Nov
Connecting two accounts may sound more complicated than it really is. When I first thought about linking Mailchimp with Facebook, I worried about choosing the wrong settings or giving access to something I shouldn’t. I wanted to reach more customers, but I didn’t want to risk disrupting the tools I was already using.
Fortunately, the process is much easier than it seems. You can connect Mailchimp to Facebook in just a few minutes, even if you’re new to both platforms. In this guide, I’ll walk you through how to connect Mailchimp to Facebook in seven simple steps, with a focus on small business Facebook advertising. You’ll also learn about two ways to connect the platforms: one for posts and another for ads. Choose the option that matches your goal, and follow along step by step.
Why Should Small Businesses Connect Mailchimp to Facebook for Better Advertising?
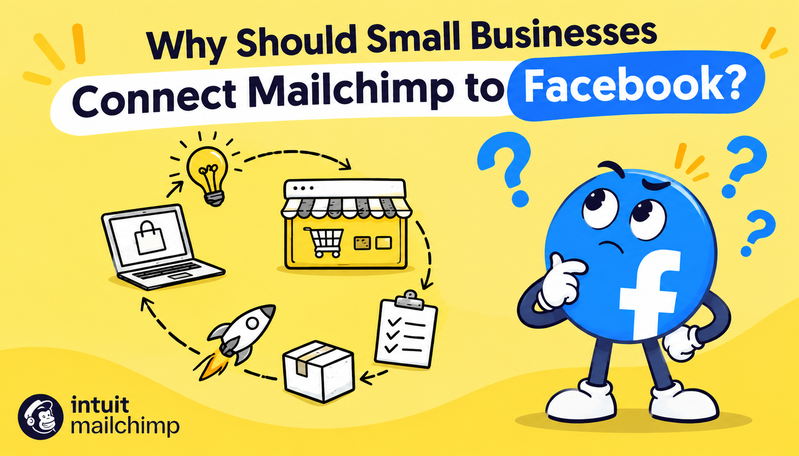
When you connect Mailchimp to Facebook, your email tool and your social media work as a team. Mailchimp holds your contacts. Meta, the owner of Facebook and Instagram, shows your content and ads. Choose the right connection first, and the rest takes minutes.
Two Ways to Connect Mailchimp to Facebook
There are two main ways to connect Mailchimp with Meta, depending on what you want to achieve. Both are ways of linking the platforms, but each serves a different purpose.
The Facebook integration connects your Facebook and Instagram accounts to Mailchimp. It lets you create and publish posts to your Facebook timeline directly from Mailchimp. This option is best for managing social media posts.
The Meta Business Extension, on the other hand, connects your Mailchimp audience with your Meta Custom Audience. This helps you use customer data to build and manage audiences for Facebook and Instagram ads.
Simply put, use Facebook integration for posts and Meta Business Extension for ads. If you’re running a small business, you can start with the option you need most and connect the other one whenever you’re ready.
What Do You Need Before You Connect?
Step 1 is simple: check your accounts. Gather these items before you connect Mailchimp to Facebook.
For the Facebook integration:
- An active Facebook account that is an admin of at least one Facebook Page
- An Instagram business account added to your Page, if you want to use Instagram
The integration does not post to your personal profile. It works with a Page.
For the Meta Business Extension:
- An active Meta Business Manager account
- An ad account
- A customer list Custom Audience
One more rule matters. Use only contacts who agreed to receive marketing. Good consent keeps your ads honest and your list clean.
The Way How to Connect Mailchimp to Facebook Step by Step
Let’s connect Mailchimp to Facebook together, one simple step at a time. I’ll guide you through the process so you know exactly what to do at each stage. Steps 2 and 3 focus on posts, while Steps 4 to 6 cover ads. Finally, Step 7 helps you check that everything is connected correctly.
There’s no need to rush. Take your time, follow each instruction, and review the permissions carefully before allowing access.
Connect the Facebook Integration
Step 2: Start the connection. Open the Facebook integration detail page in Mailchimp and click Connect. If Facebook asks, enter your credentials and log in. Mailchimp asks for access to your name and profile picture. Click Continue.
Step 3: Approve the permissions. Choose which Facebook permissions to allow, then click Continue. You must approve each request to use the integration. Skipping one can leave the setup half done.
When the setup works, Mailchimp shows a success message. Now you can connect Mailchimp to Facebook for posts. If an Instagram business account is linked to your Facebook Page, you can use your Instagram photos and post to your Instagram feed too. Lead ads are not part of this connection.
Connect the Meta Business Extension for Ads
Now connect Mailchimp to Facebook for ads. This part links your ad account and your audiences.
Step 4: Open the app page. Open the Meta Business Extension app page and click Connect. Log in to Facebook and review the permission requests.
Step 5: Choose your assets. Select your Business Manager account, Facebook Page, Instagram profile, ad account, and Meta Pixel. These five items are meronyms of your Meta business setup.
Step 6: Confirm and finish. On the confirmation screen, decide about automatic advanced matching. It matches your customer details with people on Facebook. Then click Create Ad or Done. Only one Mailchimp account can connect to one Meta business account. To change permissions later, disconnect and reconnect.
Check That Everything Works
Step 7: Test the connection. Find the Facebook tile under Integrations, then click Manage to review your connection. Before using it for a real campaign, run a quick test. Try creating a social media post or checking whether your Custom Audience is available.
It’s also helpful to keep a simple checklist of the accounts you’ve connected, including your Facebook Page, ad account, and Meta Pixel. This makes it easier to review your settings and troubleshoot issues if anything changes later.
Following these small checks can make the process of how to connect Mailchimp to Facebook much smoother and help your small business avoid common setup problems.
The Way How to Get the Most from Your Facebook Connection
Once you connect Mailchimp to Facebook, two things decide your results: the right plan and a clean setup. Here is how to choose a plan and fix common problems.
Which Mailchimp Plan Do You Need?
Connecting is open to many accounts. All Mailchimp Marketing plans, such as Essentials and Standard, can install the Meta Business Extension. Some Meta and Instagram features depend on your plan. Two features need more:
- Scheduling a social post needs the Standard plan or higher.
- The Meta Custom Audience action in automation flows needs the Standard plan or higher.
Prices change often. Check Mailchimp’s pricing page before you choose. A small business can start with the plan it has and upgrade later.
Common Mailchimp and Facebook Connection Problems and Solutions
Most problems have a simple fix. Try these in order:
- Disconnect and reconnect. Approve each Facebook permission request this time. A skipped request can leave the setup incomplete.
- Try another computer or network. Then repeat the connection.
- Use the right admin. If someone else manages your Facebook Page, ask that person to connect with their own account.
- Link Instagram first. If Mailchimp does not see Instagram, add an Instagram business account to your Facebook Page.
- Restore Instagram access. If you skipped the Instagram permission, disconnect, reconnect, and approve it.
For ads, keep one more rule in mind. Meta looks at the age of your Business Manager account when it decides who can create a customer list Custom Audience. A new account may need time. If a step still fails, write down the screen and contact Mailchimp support.
Conclusion
Now you have a clear idea of how to connect Mailchimp to Facebook for your small business. Start by checking your accounts, setting up the Facebook integration for posts, and connecting the Meta Business Extension for ads. Once everything is linked, verify your setup and choose the plan that best fits your needs.
If you’re still unsure how to connect Mailchimp to Facebook, don’t feel pressured to do everything at once. Start with one integration, test that it works, and add the other when you’re ready. With a few simple steps, you can build a stronger foundation for your small business Facebook advertising. Take it one step at a time, and you’ll get there!
FAQ
1.Can I Connect Mailchimp to My Personal Facebook Profile?
No. The integration does not post to your personal profile. You need an active Facebook account that is an admin of at least one Facebook Page.
2.What Is the Difference Between the Facebook Integration and the Meta Business Extension?
The Facebook integration handles posts and Instagram content. The Meta Business Extension handles customer data, custom audiences, and ad tools.
3.Which Mailchimp Plan Do I Need to Connect Facebook?
Connecting is open to many accounts. But scheduling social posts and the Meta Custom Audience action need the Standard plan or higher. Check Mailchimp’s pricing page for current plans.
4.How Do I Disconnect Mailchimp From Facebook?
To disconnect the platforms, start in Mailchimp. Go to Integrations, select Manage, open the Facebook tile, and click Disconnect. Next, log in to Facebook, find Business Integrations in your settings, and remove Mailchimp from the list.
That’s it! Your accounts are now disconnected, and you can reconnect Mailchimp to Facebook whenever you need to.
